Your wedding seating chart is more than a list of names beside table numbers. It helps guests settle in, makes dinner service easier to coordinate and gives everyone a comfortable place to enjoy the celebration. The task becomes much more manageable when you separate the room layout, guest groupings and printed display into three decisions.
For couples planning a reception at Abbington in Glen Ellyn, start with your event specialist and an agreed floor plan. Then build a seating plan around the people attending, rather than trying to fit everyone into a design you have already printed.
Start With the Reception Floor Plan
Before assigning a single guest, confirm the table sizes and seating capacity for your actual layout. A table’s comfortable capacity can depend on place settings, centerpieces and the space needed around it. Leave the room configuration to the venue team, especially where service paths and access routes are concerned.
Discuss where the dance floor, entertainment, couple’s table and any special displays will go. Guests who prefer easier conversation may appreciate a table farther from speakers. Family members participating in toasts may need a clear route to the microphone.
- Confirm which floor-plan version is final.
- Use the same table numbers on your plan, guest display and venue paperwork.
- Ask when the venue needs final seating assignments and meal counts.
- Confirm how to account for children, high chairs and vendor meals.
Build One Reliable Guest List
Keep a master list with each guest’s name, RSVP status, household or party, meal choice if applicable and table assignment. Give one person responsibility for maintaining it. Separate copies shared among several relatives can quickly produce conflicting changes.
Start grouping guests before every RSVP arrives, but wait to finalize assignments until you have confirmed attendance. If a response is missing, follow up directly instead of treating silence as a yes. Use full names consistently so your printed display and the venue’s list are easy to match.
Group People for Comfortable Conversation
Begin with natural groups: close relatives, longtime friends, colleagues and people who already enjoy spending time together. Then look for connections between guests who have not met. Shared interests or a similar connection to the couple can make a mixed table feel welcoming.
Avoid turning the seating chart into a matchmaking exercise. A guest attending alone should have good company without being placed at a conspicuous “singles table.” Keep couples together and consider whether someone who knows very few attendees would appreciate a familiar face nearby.
Family arrangements do not have to follow a rigid formula. If separate family tables will make people more comfortable, discuss that quietly with the people involved. A thoughtful arrangement matters more than a perfectly symmetrical diagram.
Ask About Comfort and Access Privately
Contact guests directly about seating needs rather than making assumptions. Someone may need room for a mobility aid, an easy route to an exit or a place away from loud music. Share relevant requirements with your venue contact so the layout can be reviewed.
Keep sensitive notes off the public seating display. The sign only needs to tell people where to sit; your planning file can hold the details needed to support them.
Choose Table Assignments or Individual Seats
Assigning a table lets guests choose their own seats once they arrive. Assigning individual seats adds another layer of detail and may be helpful when meal service or a particular arrangement requires it. Ask your event specialist what information the service team needs before ordering stationery.
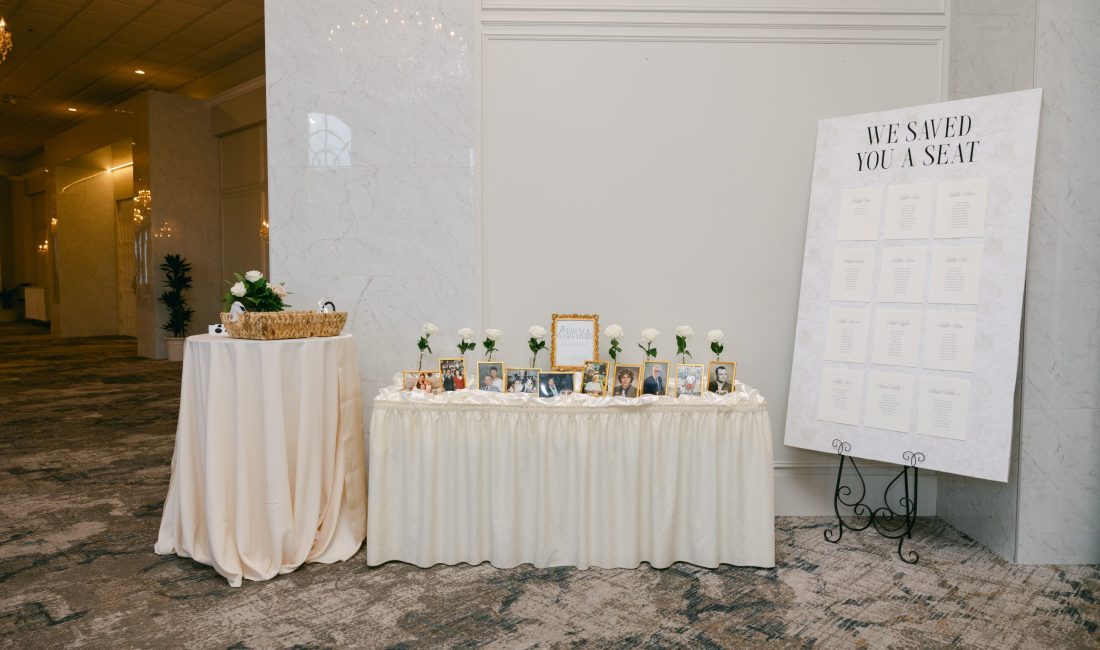
Escort cards direct guests to tables. Place cards identify individual seats. A seating chart can replace escort cards, but it does not automatically replace any meal-identification system your venue uses. Make sure the stationery plan supports dinner service.
Make the Display Easy to Read
For a larger reception, an alphabetical list is often easier to scan than a display organized only by table. Use readable type, clear contrast and enough space between names. Check the design at its actual printed size, not just on a laptop.
- Proofread names with someone who knows both families.
- Check that every confirmed guest appears exactly once.
- Match printed table numbers to the final floor plan.
- Keep an updated backup list with your designated wedding-day contact.
Bring the Final Details Together at Abbington
Review your seating plan alongside your wedding reception timeline, so guest arrival, seating and dinner service work together. Once the final version is approved, route any late changes through one contact and tell the venue promptly.
Explore Abbington’s wedding packages and contact our team to discuss your Glen Ellyn reception. A clear seating plan gives you one less detail to manage when it is time to celebrate.